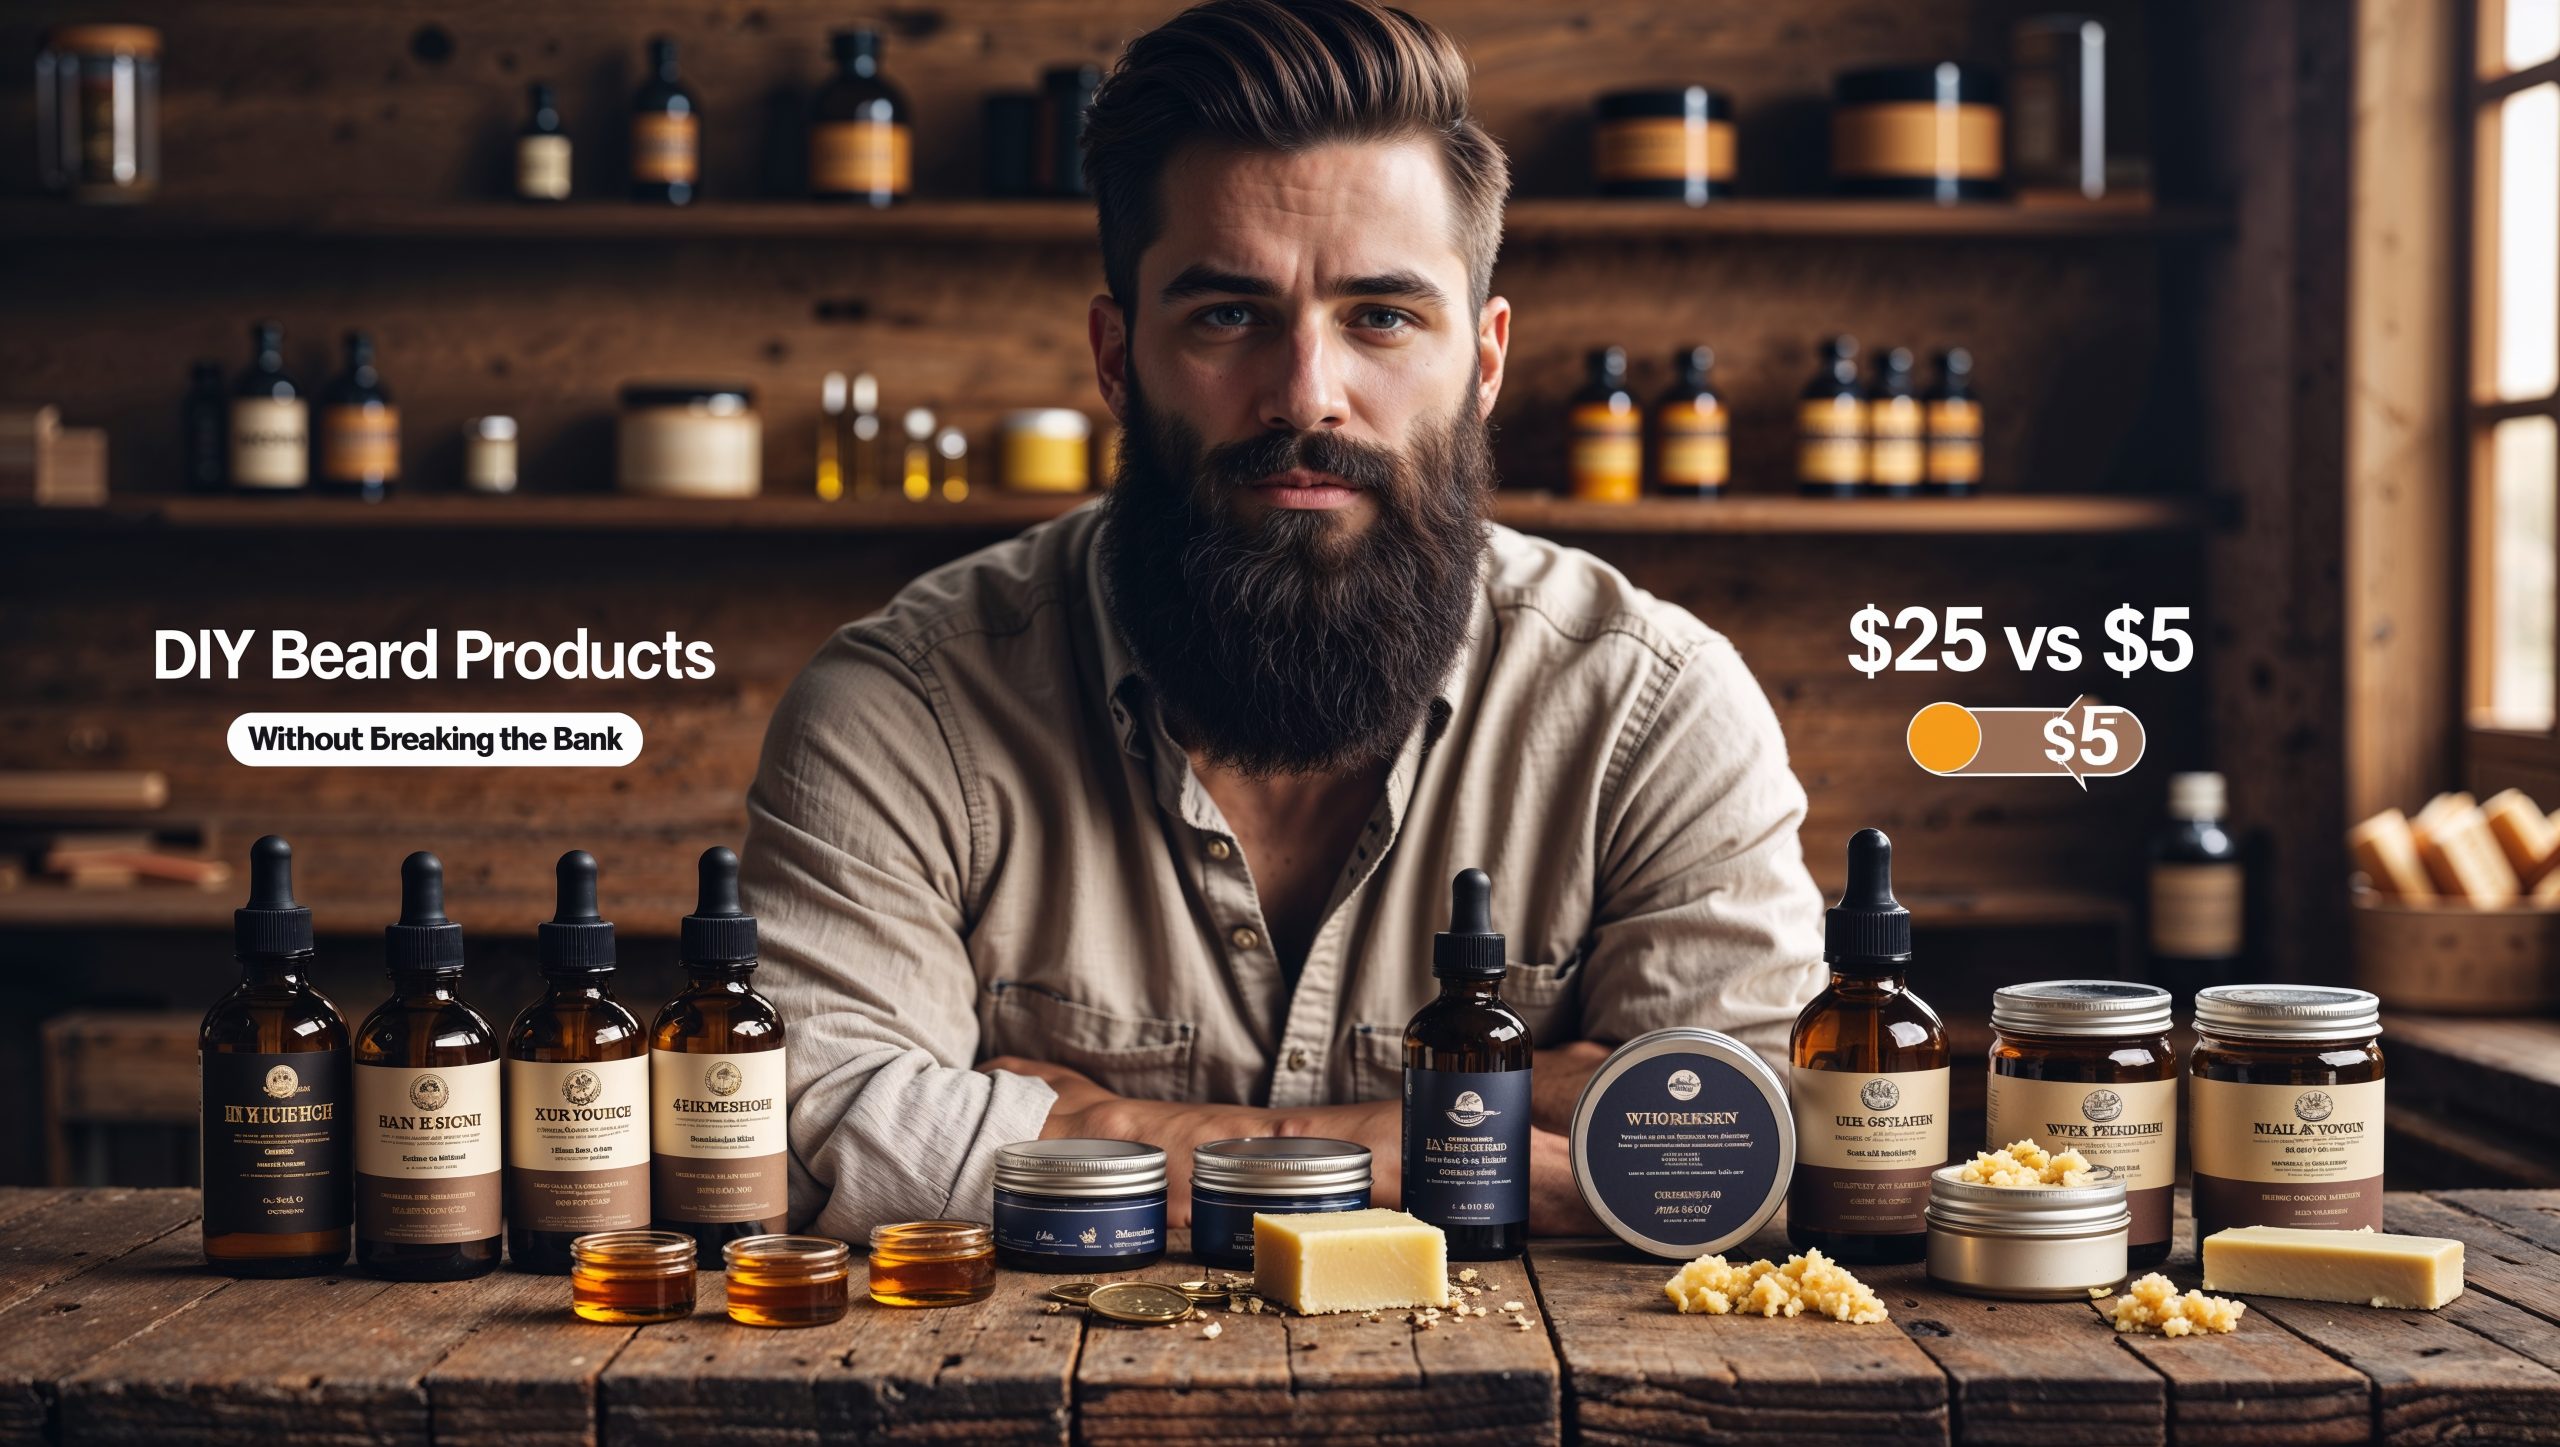
Have you ever picked up a tiny bottle of beard oil, glanced at the $25 price tag, and thought to yourself, “It’s just scented oil… I could probably make this myself”? If so, you’re not alone—and more importantly, you’re absolutely right.
Welcome to the world of DIY beard alchemy, where your bathroom transforms into a laboratory, your kitchen ingredients become premium beard care components, and your wallet stays comfortably full. The secret that big beard brands don’t want you to know? Creating high-quality beard products at home isn’t just possible—it’s surprisingly easy.
The average bearded man spends between $200-$600 annually on specialized facial hair products. That same man could craft an entire year’s supply of custom beard oils, balms, and washes for under $75 with the right ingredients and recipes. But the benefits extend far beyond just saving money.

DIY Skin Care Set with Hair Oils Skin Oils for Body Care Moisturizers for Face and Body plus Nail Care – Anti Aging Skin Care DIY Beauty Products Carrier Oil Set
As an Amazon affiliate, i may make a small commission if products are bought via my website
When you DIY, you gain complete control over what touches your magnificent facial mane. No more mystery ingredients, artificial fragrances, or questionable preservatives. You choose every carrier oil, essential oil, butter, and wax based on your beard’s specific needs and your personal preferences. That patchy, dry beard? There’s a custom formula for that. Sensitive skin underneath? You can craft a solution without the irritants.
Then there’s the satisfaction factor—the same pride that comes from building your own furniture or fixing your own car. There’s something deeply gratifying about stroking your beard and knowing that the amazing scent and soft texture came from your own handiwork, not some factory assembly line.
In this guide, we’ll walk through everything you need to know to become a beard product craftsman:
- The fundamental ingredients that form the foundation of all beard care products
- Step-by-step recipes for oils, balms, washes, and specialty treatments
- How to create masculine scent profiles that won’t overpower a room
- Where to source quality ingredients without breaking the bank
- The tools you’ll need (most of which you probably already own)
- How to package your creations for personal use or impressive gifts

USDA Certified Cold Pressed Carrier Oil For DIY Beauty, Non-Greasy, Unscented, Hexane Free Liquid Moisturizer – Face Skin & Hair – Men & Women
All you need to get started is some basic kitchen equipment, a few key ingredients, and the willingness to experiment. The initial investment might run you $40-60 for a good selection of base ingredients, but they’ll produce dozens of products worth hundreds at retail prices.
So roll up your sleeves, embrace your inner chemist, and get ready to craft beard care products that rival anything on the store shelves—at a fraction of the cost. Your beard and your bank account are about to become very good friends.
The Beard Scent Wheel
Create your signature masculine scent with these essential oil combinations
Woody
- Cedarwood B
- Sandalwood B
- Pine M
- Cypress M
- Vetiver B
Spicy
- Cinnamon M
- Clove M
- Black Pepper T
- Ginger M
- Cardamom M
Citrus
- Bergamot T
- Sweet Orange T
- Lemon T
- Lime T
- Grapefruit T
Herbal
- Rosemary M
- Sage M
- Basil T
- Eucalyptus T
- Tea Tree M
Earthy
- Patchouli B
- Oakmoss B
- Vetiver B
- Frankincense B
- Myrrh B
Oriental
- Vanilla B
- Amber B
- Benzoin B
- Musk (synthetic) B
- Tonka Bean B
Tried & Tested Masculine Combinations
Woodland Wanderer
Forest-inspired, outdoorsy signature scent.
- 4 drops Cedarwood
- 3 drops Pine
- 2 drops Cypress
- 1 drop Vetiver
Spice Trader
Warm, complex, and subtly exotic.
- 3 drops Sandalwood
- 2 drops Cinnamon
- 2 drops Vanilla
- 1 drop Clove
Citrus Wizard
Energizing, fresh, and universally appealing.
- 3 drops Bergamot
- 3 drops Sweet Orange
- 2 drops Lemongrass
- 1 drop Patchouli
The Bearded Basics: Understanding Ingredients
Before you start mixing potions for your facial forest, let’s break down the building blocks of any great beard product. Understanding these ingredients is like learning the difference between flour, sugar, and eggs before baking – it’s essential knowledge that will let you improvise with confidence later on.
Carrier Oils 101: The Foundation of Beard Care
Carrier oils form the base of any beard oil and most balms. Despite what fancy marketing might tell you, there’s no magical “beard oil plant” – these are the same natural oils used in cooking and skincare, just carefully selected for their specific benefits to facial hair.
Jojoba Oil ($8-12 for 4oz)
- Most closely resembles your skin’s natural sebum
- Medium absorption rate that works for most beard types
- Nearly odorless, making it perfect for custom scents
- Longest shelf life of common carrier oils (2+ years)
- Great for beginners and sensitive skin

Moisturizing for Face, Hair, Skin & Nails | Natural Cold Pressed Hexane Free | Base Carrier Oil
Argan Oil ($10-15 for 2oz)
- Known as “liquid gold” for its rich vitamin E content
- Slightly heavier feel with excellent conditioning properties
- Subtle nutty scent that pairs well with woodsy essential oils
- Particularly good for coarse, wiry beard hair
- Worth the higher price for its superior moisturizing effects
Sweet Almond Oil ($6-10 for 4oz)
- Lightweight oil that penetrates hair quickly
- Rich in vitamins A, B, and E
- Mild, pleasant natural scent
- Excellent for daily use in normal to dry beards
- Avoid if you have nut allergies (obvious, but worth mentioning)
- Extremely light, fast-absorbing oil
- Almost completely odorless
- Won’t clog pores (non-comedogenic)
- Perfect for oilier skin types or hot, humid climates
- Shorter shelf life (6-9 months) than other carriers
Budget-Friendly Hack: While all these oils are relatively affordable compared to finished products, fractionated coconut oil ($6-8 for 4oz) offers the best balance of cost, performance, and versatility for new DIYers. Unlike regular coconut oil, it stays liquid at room temperature.
Where to Source: Skip grocery store cooking oils and opt for cold-pressed, unrefined versions from health food stores, online retailers like Amazon, or specialty soap-making suppliers. The quality difference is noticeable, especially for ingredients touching your face daily.
Essential Oils: The Aromatic Soul of Your Beard Products
Essential oils do double duty in beard care: they provide your signature scent and offer therapeutic benefits for hair and skin. Unlike synthetic fragrances, these concentrated plant extracts bring natural complexity and character to your creations.
Understanding Scent Notes:
- Top notes: The first impression that fades quickly (citrus, herbs)
- Middle notes: The heart of your scent that emerges after 10-30 minutes (spices, florals)
- Base notes: The foundation that lingers for hours (woods, resins, earth)
A balanced beard scent should include elements from each category, though many men prefer base-heavy compositions for their staying power and traditionally masculine character.
Beginner-Friendly Essential Oils:
Woody (Base Notes):
- Cedarwood: Forest-like, classic masculine scent ($5-8)
- Sandalwood: Rich, creamy, sophisticated ($8-20 depending on variety)
- Pine: Outdoorsy, fresh, invigorating ($6-10)
Citrus (Top Notes):
- Sweet Orange: Bright, universally appealing ($5-7)
- Bergamot: Sophisticated citrus with slight floral notes ($7-10)
- Lemongrass: Lemony with a complex, grassy undertone ($5-8)
Spice & Earth (Middle to Base Notes):
- Cinnamon: Warm, spicy, stimulating ($6-9)
- Vanilla: Rich, sweet, comforting ($8-12)
- Patchouli: Deep, earthy, long-lasting ($7-10)
Safety Considerations:
- Essential oils are powerful plant concentrates that require respect
- Never apply undiluted essential oils directly to skin
- Standard dilution for beard products is 1-2% (approximately 6-12 drops per ounce of carrier oil)
- Some oils (particularly citrus) can cause photosensitivity or skin irritation
- Always perform a patch test before slathering a new creation all over your face
Budget-Friendly Hack: Start with 3-5 essential oils that appeal to you and span different note categories. You’ll get more mileage from a small, versatile collection than dozens of rarely-used options.
Butters, Waxes, and Thickeners: Giving Your Products Structure
These ingredients transform liquid oils into balms, waxes, and styling products by adding thickness, hold, and texture.
Shea Butter ($6-10 for 8oz)
- Rich, creamy plant butter with excellent moisture retention
- Melts at body temperature for smooth application
- Nearly odorless in refined form
- Provides medium hold with superior conditioning
- Unrefined versions have a distinct nutty scent that can impact your final fragrance
Cocoa Butter ($7-12 for 8oz)
- Firmer than shea with a higher melting point
- Natural chocolate scent in unrefined form
- Provides stronger hold with less greasiness
- Creates a slight moisture barrier for beard protection
- Works wonderfully in winter formulations
Beeswax ($8-12 for 8oz)
- The gold standard for natural hold and structure
- Subtle honey aroma complements most scent profiles
- Water-resistant properties help lock in moisture
- Available in different colors from yellow to white (white is more refined)
- Filter the melted wax through a fine mesh to remove any bee debris
Plant-Based Alternatives:
- Candelilla wax: Vegan alternative with similar properties to beeswax ($8-12 for 4oz)
- Mango butter: Firmer than shea but less scent than cocoa butter ($8-15 for 8oz)
- Kokum butter: Creates exceptionally non-greasy products ($10-15 for 8oz)
Understanding these fundamental ingredients gives you the knowledge to start creating basic beard care products. In the next section, we’ll dive into your first DIY project: crafting the perfect beard oil that rivals anything you’d find on a store shelf, but at a fraction of the cost.

DIY Beard Oil: Liquid Gold for Your Face Forest
Think of beard oil as the gateway drug to DIY beard care. It’s the simplest to make, requires minimal equipment, and delivers immediate results. Let’s break down everything you need to know to create your own liquid gold for that magnificent face forest.
The Science of Beard Oil: Why Your Beard Needs Extra Moisture
Your face produces natural oils (sebum) to condition both skin and hair. So why do beards need additional oil? There are three key reasons:
- Surface Area Mathematics: Each hair follicle has one oil gland, whether it’s producing a tiny facial hair or a thick beard hair. As your beard grows, you’re asking those same oil glands to cover much more surface area.
- Theft by Shampoo: Regular face washing and especially shampoo strip away natural oils, leaving your beard high and dry.
- Environmental Defense: Your beard faces constant assault from wind, sun, heaters, air conditioning, and even your own nervous habit of touching it throughout the day.
Good beard oil addresses these issues by supplementing natural oils, sealing in moisture, and creating a protective barrier against environmental stressors. The result is a softer, more manageable beard that doesn’t itch, flake, or feel like steel wool.
The Perfect Beard Oil Formula
The beauty of DIY beard oil lies in its simplicity: at its most basic, it’s just carrier oils and scent. Here’s what you’ll need:
Shopping List:
- Primary carrier oil (1-2 oz bottle): $3-6
- Secondary carrier oil (1-2 oz): $3-6
- 2-4 essential oils of choice: $15-30 total
- Small dark glass bottles with droppers: $1-2 each
- Small funnel (optional but helpful): $1-3
- Small measuring cups or kitchen scale: Likely already owned
Total Investment: $23-47 for supplies that will make at least 5-10 bottles of beard oil (equivalent to $125-250 in store-bought product)
Basic Equipment:
- Small funnel
- Measuring spoons/cups or dropper
- Clean workspace
- Labels and pen
The Base Formula (1oz bottle):
- 80-90% Primary carrier oil (jojoba or fractionated coconut recommended)
- 10-20% Secondary carrier oil (argan, sweet almond, or grapeseed)
- 6-12 drops essential oil blend (1-2% dilution)
That’s it! No heating, no complex equipment, just mix and you’re done.
Step-by-Step Mixing Instructions:
- Start clean: Ensure all equipment and bottles are clean and dry.
- Measure base oils: Pour your primary carrier oil into your bottle, filling it about 80-90% full.
- Add secondary oil: Add your secondary carrier oil to fill it almost to the top, leaving just a bit of room for essential oils and expansion.
- Create your scent: Add essential oils drop by drop directly to the bottle. Start with fewer drops than you think you need—you can always add more.
- Seal and mix: Secure the dropper top, cap it tightly, and shake well for 30 seconds.
- Test and adjust: Place a drop on your wrist, rub it in, and smell. If the scent is too weak, add 1-2 more drops of essential oil and retest.
- Label your creation: Note the oils used and date mixed. Beard oils typically last 6-12 months before the carrier oils begin to oxidize.
Custom Scent Profiles That Won’t Get You Banished to the Couch
Creating a balanced, masculine scent is an art, but these tested combinations will get you started with confidence:
Woodsman’s Retreat (Forest & Earth)
- 4 drops Cedarwood (base)
- 3 drops Pine (middle/top)
- 2 drops Cypress (middle)
- 1 drop Vetiver (base) Why it works: This outdoorsy, forest-inspired blend evokes cabins and campfires without veering into air freshener territory.
Citrus Wizard (Fresh & Energizing)
- 3 drops Bergamot (top)
- 3 drops Sweet Orange (top)
- 2 drops Lemongrass (middle/top)
- 1 drop Patchouli (base, grounds the citrus) Why it works: Bright and energizing without smelling like cleaning products. The patchouli anchors the blend with masculine earthiness.
Spice Trader (Warm & Complex)
- 3 drops Sandalwood (base)
- 2 drops Cinnamon (middle)
- 2 drops Vanilla (base/middle)
- 1 drop Clove (middle) Why it works: Warm and inviting without being overpowering. The vanilla softens the spices while the sandalwood adds sophisticated depth.
Minimal Man (Subtle Confidence)
- 5 drops Sandalwood (base)
- 1 drop Bergamot (top) Why it works: Sometimes less is more. This barely-there scent leaves people wondering why you smell so good without identifying you as “the beard oil guy.”
Pro Tip: Keep notes on your creations. The difference between “amazing beard oil” and “that weird thing that smells like Grandma’s potpourri” is often just a drop or two.
Application & Usage: Getting the Most From Your Creation
Even the best beard oil fails if used incorrectly. Here’s the right way to apply your liquid creation:
- The right amount: Use 3-10 drops depending on beard length (stubble to Viking). When in doubt, start with less.
- Warm it up: Rub the oil between your palms for a few seconds to warm it.
- Apply underneath first: Work your hands upward from the neck, focusing on the skin beneath your beard.
- Distribute evenly: Use your hands to distribute through the length of your beard, then follow with a beard comb for perfect coverage.
- Timing matters: The best time to apply is after showering when your pores are open and your beard is slightly damp (but not wet).
Troubleshooting Common Issues
Problem: Too Greasy
- Possible causes: Using too much product; formula too heavy for your beard type
- Solution: Cut back on application amount; increase the percentage of lighter oils like grapeseed or adjust your formula with a drop of vitamin E oil
Problem: Not Moisturizing Enough
- Possible causes: Formula too light; extremely dry climate; very coarse beard hair
- Solution: Increase percentage of heavier oils like argan or add a drop of pure vitamin E oil to your formula
Problem: Scent Fades Too Quickly
- Possible causes: Using only top notes; not enough total essential oil
- Solution: Increase base notes in your blend; slightly increase overall essential oil percentage (don’t exceed 2% for facial applications)
Problem: Skin Irritation
- Possible causes: Sensitivity to specific essential oil; concentration too high
- Solution: Create an unscented version for troubleshooting; reintroduce oils one at a time; reduce essential oil concentration
With these foundations mastered, you’ve taken your first step toward beard product independence. Experiment with different carrier oil combinations and scent profiles until you find your signature blend – the one that makes people lean in just a little closer to figure out why your beard looks and smells so damn good.
Next, we’ll level up to creating beard balms – adding structure and style while maintaining the moisturizing benefits of your custom oil creations.
Whip Up Some Beard Balm: Styling with Substance
If beard oil is a moisturizing drink for your facial hair, think of beard balm as a nourishing meal with staying power. This solid-to-soft product adds shape, control, and extended conditioning to your beard care arsenal. Let’s transform your DIY game from basic to professional with this slightly more advanced (but still totally doable) beard essential.
Why Balm Is Your Beard’s Best Friend
Beard balm fills the gap between lightweight oils and heavy-duty waxes, offering several unique benefits:
Moisture with Staying Power Unlike oils that can absorb quickly, balms create a longer-lasting barrier that seals in hydration throughout the day. This makes them ideal for coarser beards and drier climates where even regular oil application leaves your beard thirsty by afternoon.
Subtle Styling Capability While not as rigid as a mustache wax, balm provides enough hold to tame flyaways and give shape to your beard without the “styled” look. It’s control that doesn’t scream “I spent 20 minutes arranging my facial hair this morning.”
Portable and Less Messy The solid format means no leaking bottles in your gym bag or travel kit. Just twist open, scrape out what you need, and you’re good to go. It’s also easier to control application amount compared to liquid oil.
Environmental Protection The slightly heavier barrier created by balm helps shield your beard from wind, dry air, and environmental pollutants that can damage and dry out facial hair.
Basic Beard Balm Recipe: Your First Solid Creation
Let’s break down what you’ll need for a basic 2oz tin of premium beard balm:
Ingredients:
- 3 tbsp total of carrier oils (same as your beard oil)
- 1 tbsp beeswax pellets
- 1 tbsp shea butter
- 1 tbsp cocoa butter
- 15-20 drops essential oil blend
- Optional: 1/4 tsp vitamin E oil as preservative
Cost Breakdown:
- Carrier oils: $1-2 (small portion of your existing supply)
- Beeswax: $1-1.50 per balm
- Butters: $1-2 total per balm
- Essential oils: $0.50-1 (small portion of your existing supply)
- 2oz tin containers: $1-2 each
- Total per 2oz balm: $4.50-8.50 vs. $18-25 retail
Equipment Needed:
- Double boiler (or a heat-safe glass bowl over a pot of water)
- Kitchen scale (highly recommended for consistency)
- Stirring utensil (wooden chopstick works perfectly)
- Small tins or containers
- Heat-resistant measuring spoons
- Thermometer (optional but helpful)
Step-by-Step Balm Creation Process
- Measure carefully: Unlike oil where approximations work, balm requires more precise measurements for the right consistency. A kitchen scale is ideal, but measuring spoons can work.
- Create a double boiler: Fill a small pot with 1-2 inches of water and place a heat-resistant bowl on top, ensuring the water doesn’t touch the bottom of the bowl.
- Melt the hardest ingredients first: Start with beeswax on low-medium heat, as it has the highest melting point (around 145°F).
- Add butters: Once the beeswax is mostly melted, add your cocoa butter, then shea butter, stirring gently to combine as each ingredient melts.
- Add carrier oils: Remove from heat and stir in your pre-mixed carrier oils. The residual heat will keep everything liquid while cooling the mixture slightly.
- Cool slightly before adding essential oils: Allow the mixture to cool to about 120°F before adding essential oils to preserve their aromatic properties.
- Add essential oils and vitamin E: Add your chosen essential oil blend and vitamin E if using, then stir thoroughly to distribute.
- Pour and set: Carefully pour the liquid balm into your containers. Leave the lids off until completely cooled to prevent condensation.
- Wait patiently: Allow 2-3 hours for the balm to fully set before use. For accelerated setting, you can place them in the refrigerator, but bring to room temperature before testing consistency.
- Test consistency: The perfect balm should be firm to the touch but melt easily when rubbed between your fingers. If it’s too hard or too soft, you’ll adjust your next batch accordingly.
Signature Balm Variations: Customizing for Every Beard’s Needs
Once you’ve mastered the basic recipe, try these specialized versions:
Extra Hold Formula for Unruly Viking Beards
- Increase beeswax to 1.5 tbsp
- Reduce shea butter to 1/2 tbsp
- Keep other ingredients the same
- Why it works: Higher wax content creates more structure without becoming too brittle
Sensitive Skin Solution
- Replace regular beeswax with white, refined beeswax
- Use only jojoba and argan oils for the carrier portion
- Limit essential oils to 10 drops of gentle options (avoid cinnamon, peppermint)
- Add 1/4 tsp calendula-infused oil if available
- Why it works: Removes potential irritants while adding skin-soothing properties
Butter-Heavy Conditioning Balm for Winter
- Decrease beeswax to 2 tsp
- Increase shea butter to 1.5 tbsp
- Add 1/2 tsp lanolin (optional but excellent for extreme conditions)
- Why it works: Higher butter content creates a more nourishing, protective barrier against harsh winter conditions
Summer Lightweight Formula
- Keep beeswax at 1 tbsp
- Replace cocoa butter with mango butter (less heavy)
- Increase lighter carriers like grapeseed oil
- Use refreshing essential oils like bergamot and cedarwood
- Why it works: Modified proportions prevent melting in heat while maintaining enough structure for light control
Troubleshooting Your Balm Creation
Problem: Too Hard/Waxy
- Cause: Too much beeswax or ratio imbalance
- Solution: Remelt and add more butter and/or carrier oils
Problem: Too Soft/Oily
- Cause: Not enough beeswax or butters
- Solution: Remelt and add small amounts of beeswax
Problem: Grainy Texture
- Cause: Butters cooled too slowly or unevenly
- Solution: Next time, cool more rapidly or try tempering by controlled cooling
Problem: Scent Too Weak/Strong
- Solution: Remelt on low heat and adjust essential oils (careful not to overheat)
Application Techniques: Using Your Balm Like a Pro
Proper application transforms your balm from a nice product into a beard game-changer:
- Scrape, don’t dig: Use the back of your thumbnail to scrape a small amount from the container—about the size of a small pea to start.
- Warm thoroughly: Rub the balm between your palms until it fully melts into an oil-like consistency. Don’t rush this step; insufficient melting leads to uneven application.
- Apply in layers: Start with the skin underneath your beard using upward motions, then work outward through the length of your beard.
- Shape thoughtfully: Use your hands to shape your beard, paying special attention to trouble areas like flyaways or curl patterns.
- Finish with tools: Follow with a beard comb or brush to ensure even distribution and to train your beard hairs in the desired direction.
- Less is more: You can always add a tiny bit more if needed, but starting with too much creates a greasy, heavy appearance that’s difficult to fix without washing.
DIY Beard Product Recipe Cards
Save these easy-to-follow recipes for your home beard lab adventures
Basic Beard Oil
Easy-to-make conditioning oil for daily use
🧪 Ingredients
- 80-90% Primary carrier oil (jojoba recommended)
- 10-20% Secondary carrier oil (argan or sweet almond)
- 6-12 drops essential oil blend (1-2% dilution)
- Optional: 1 drop vitamin E oil (preservative)
📋 Instructions
- Ensure all equipment and bottles are clean and dry
- Pour primary carrier oil into bottle (80-90% full)
- Add secondary carrier oil, leaving room for essentials
- Add essential oils drop by drop
- Secure cap and shake well for 30 seconds
- Label with ingredients and date
Pro Tips
- Start with fewer drops of essential oil than you think you need
- Store in dark glass bottles away from heat and light
- Typical shelf life: 6-12 months
- Apply to slightly damp beard for best absorption
Basic Beard Balm
Styling and conditioning in one solid product
🧪 Ingredients (2oz tin)
- 3 tbsp total carrier oils (your beard oil blend)
- 1 tbsp beeswax pellets
- 1 tbsp shea butter
- 1 tbsp cocoa butter
- 15-20 drops essential oil blend
- Optional: 1/4 tsp vitamin E oil
📋 Instructions
- Create a double boiler with a small pot and heat-safe bowl
- Melt beeswax first (highest melting point)
- Add cocoa butter, then shea butter, stirring gently
- Remove from heat and stir in carrier oils
- Cool to ~120°F, then add essential oils and vitamin E
- Pour into containers and let set 2-3 hours
Pro Tips
- Use a kitchen scale for precision if possible
- For harder balm, increase beeswax by 1/2 tbsp
- For softer balm, decrease beeswax by 1/2 tbsp
- Use a wooden chopstick for stirring
- Cooler ambient temperature produces better texture
Gentle Beard Wash
Cleanses without stripping natural oils
🧪 Ingredients
- 1/4 cup liquid castile soap (unscented)
- 1 tbsp carrier oil (jojoba or almond)
- 5-7 drops essential oils
- 1 tsp vegetable glycerin (optional)
- 1/2 tsp aloe vera gel (optional)
📋 Instructions
- Combine all ingredients in a bottle
- Shake gently to mix (avoid creating bubbles)
- Let sit for 24 hours before first use
- Shake before each use
- Apply to wet beard, massage gently
- Rinse thoroughly with lukewarm water
Pro Tips
- Only wash your beard 2-3 times per week
- For dandruff-fighting formula, add 2-3 drops tea tree oil
- For extra moisture, double the glycerin
- Always follow with beard oil or balm after washing
DIY Beard Economics
The savings breakdown
💰 Initial Investment
- Base oils (16oz total): $25-30
- Essential oils (5-6 bottles): $25-40
- Butters and waxes: $15-20
- Containers and tools: $10-15
- Total startup: $75-105
📊 Product Comparison
- DIY Beard Oil (1oz): $4-6 vs. Retail: $15-25
- DIY Beard Balm (2oz): $7-10 vs. Retail: $18-30
- DIY Beard Wash (8oz): $5-8 vs. Retail: $15-22
Annual Savings Analysis
- Average beard care spending: $200-600/year
- DIY approach: $60-100/year after initial investment
- First-year savings: $65-400
- Second-year savings: $140-500
- Break-even point: 2-3 months of regular use